The 5-Minute Guide to a Perfect, Personal EC2 Instance
I like SSHing into things. So I went ahead and setup my own AWS EC2 instance. Under the free tier, you can get good mileage out of an instance and use it to do whatever you please.
But it took me awhile to get the thing up and running properly. Here are the things I wanted to have:
- Easy SSH access at the press of a button (i.e., without entering a password).
- Yet, safety and security from the attempted access of others (i.e., using RSA keys).
- My own account on the instance (rather than, say, using root).
- All the tools I use naturally on my local machine.
If that experience sounds good to you, keep reading. I've pulled together the assorted posts that I used to setup my EC2 instance and assembled The Idiot-Proof Guide.
Signing up with AWS (The Boring Part)
- Go to the AWS signup page. Proceed with the signup process. Note that the information necessary to get up and running with an AWS account includes a valid credit card and a valid phone (used for verification). Have these at the ready.
Launching Your Instance
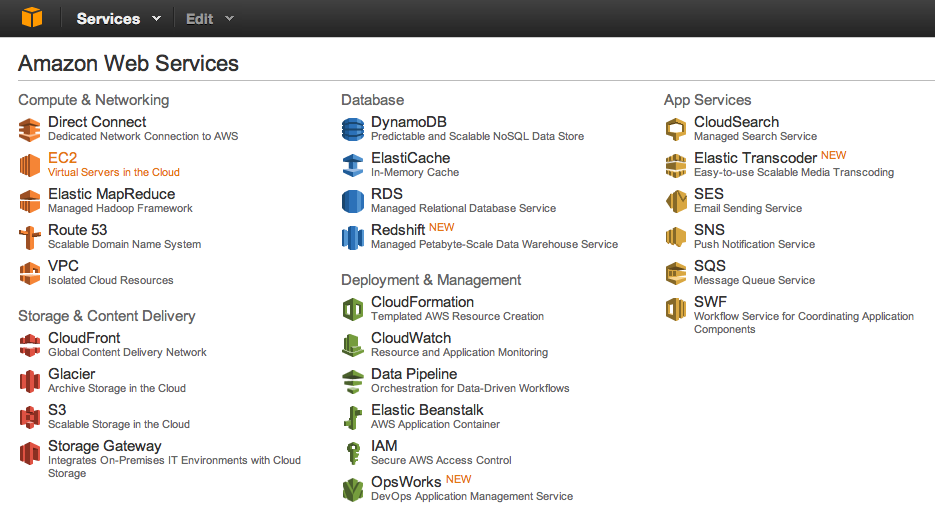
- After you've received your activation email, head to the AWS management console (this link requires you to be logged in to AWS). Click on the icon labelled 'EC2' (orange, below).
For those interested, 'EC2' stands for Elastic Cloud Compute. The service itself allows users to rent out virtual computers on which they can boot up their own images. Basically, we're booting onto some random CPU in some Amazon-owned datacenter somewhere in America.
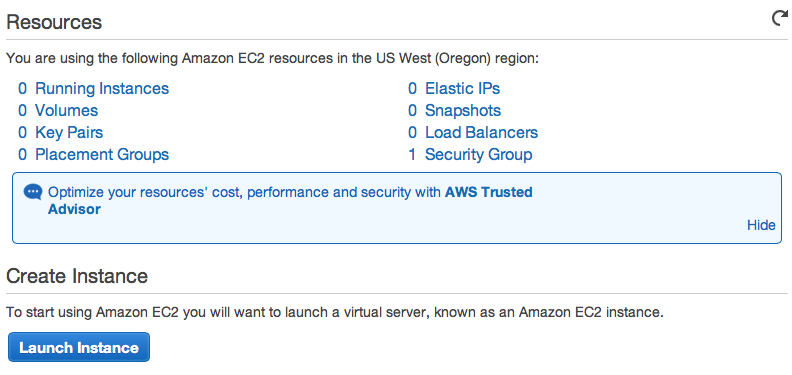
- On the next page, hit the big blue 'Launch Instance' button, as seen below.
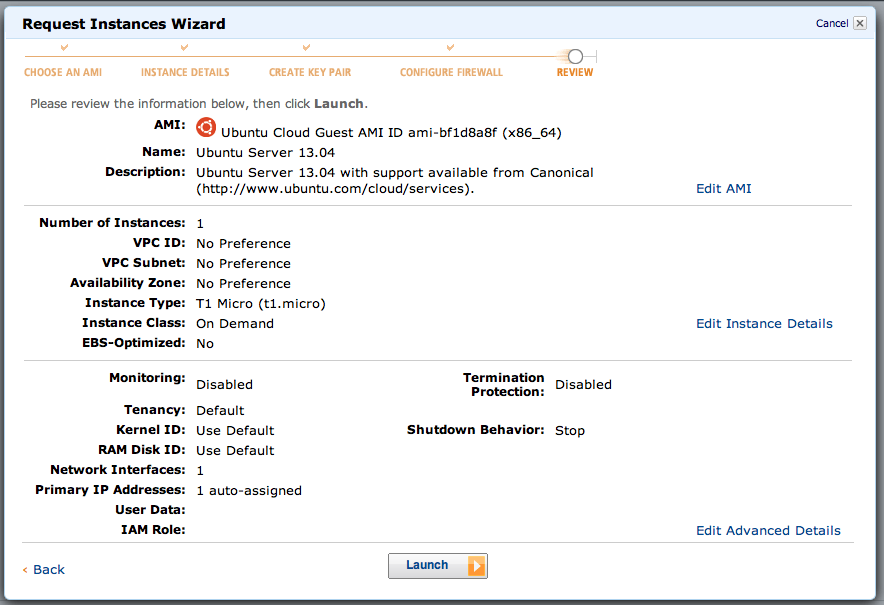
- Next, we proceed with the 'Classic Wizard'. It's at this point that we have to select our disk image. Personally, I like using Ubuntu, so the rest of this tutorial will assume that you select Ubuntu Server 13.04 (64-bit).
- Click-through (accepting the default settings) until you get to the 'Create a Key Pair' tab. You can read more about public/private key pairs here. Basically, Amazon will give you a your_keyname.pem file which will allow you to SSH into your server. Name it whatever you want and save it locally.
- Click through and launch your instance.
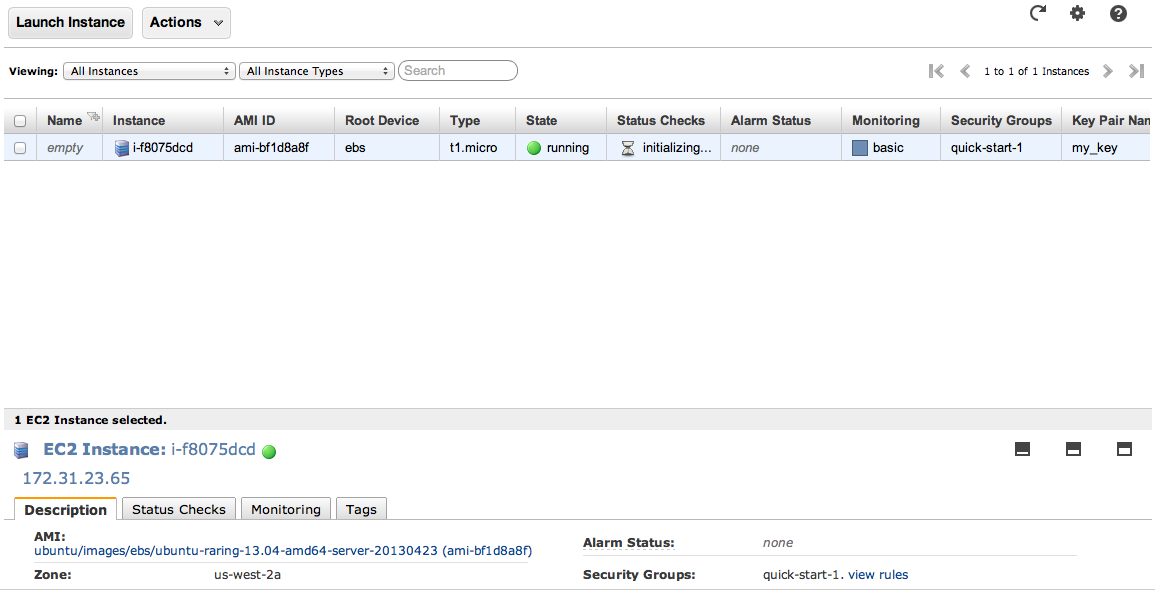
- Wait until your instance state goes from pending to active. For me, that took about 2-3 minutes. When you see something like this, you're golden.
Getting Onto Your Server
-
Now that our instance is up and running, we need to make one more step before we can SSH in. That is, we need to set the file permissions of your_keyname.pem. To do that, use the following command:
chmod 600 /path/to/your_keyname.pem -
Get your EC2 name (something of the form *.compute.amazonaws.com). It'll look like this:

-
Now, we can go ahead and SSH in. Issue the following command:
ssh -i /path/to/your_keyname.pem ubuntu@your_instance.compute.amazonaws.comIn my case, for example, that looks like:
ssh -i ~/Desktop/my_key.pem [email protected] -
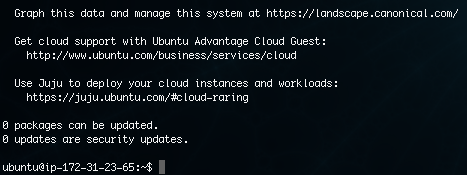
Success! (I hope...)
Configuring Your Account
-
Ideally, you want to minimize the amount of time you're logged in as root, for security purposes. So next, we'll create our own account on the EC2 instance and set it up with the proper permissions. I'll be creating the account charlie.
-
First, we should setup password authentication so that when we add users, our instance is secure. To do so:
sudo vi /etc/ssh/sshd_config
# Change the line "PasswordAuthentication no" to "PasswordAuthentication yes"
Notice that we need to use sudo.
-
Next, we'll add our user as follows:
sudo useradd -d /home/charlie -m charlie sudo passwd charlie # Enter password, twice -
That's great! But charlie still isn't sudo. If you don't know what that means: in short, a sudo user is able to access files reserved for admins. We want our account to have these admin privileges. So to provide that, we type the following (still on ubuntu):
sudo visudo
# After line "root ALL=(ALL:ALL) ALL", add "charlie ALL=(ALL:ALL) ALL"
Note: if you don't want to be prompted to enter your password, then use "charlie ALL = NOPASSWD:ALL" instead.
-
At this point, we can SSH in as charlie! Let's give it a try. Before closing our current instance, lets reload the SSH file for good measure. Still as ubuntu, type:
sudo /etc/init.d/ssh restart
logout
Now back in the terminal, we can go ahead and login:
(Some readers have had trouble with this step, and reported that editing sshd_config as described here was also necessary. I'm told that you'll need to add the "ubuntu" user, as well as your own, when following these steps.)
-
We're in! Last thing (for now): when I created my new user account, it didn't default to the bash shell. So I lacked tab-to-autocomplete, up-arrow-for-last-command, etc. To fix that:
sudo chsh -s /bin/bashLogout and login. You'll know you're successful if you see:
charlie@ip-172-31-23-65:~$If this method doesn't work, you can also manually edit the /etc/passwd file and change "/bin/sh" to "/bin/bash" for charlie.
Now we'll make this login flow much smoother.
Smoothing Out the Workflow
-
Now, I want to be able to SSH in with the click of a button. To do that, we'll: 1) remove the need for typing in your password when SSHing from your local machine, and 2) create an alias for the SSH command (and its arguments).
-
To avoid the need to enter our password, we need to take some careful steps and create a public-private key pair. If you already have a private key that you want to use, continue to the next step. Otherwise, we first create a private-public key pair on our local machine in ~/.ssh:
cd /Users/crmarsh/.ssh/
ssh-keygen -t rsa
# Name your key. Add a password, if you want.
If you didn't use the default key name, you need to add the private key (the version without the .pub extension) to your keychain as follows:
ssh-add -K keynameNext, we need to move the public key to our server. Note that I'm assuming this is still your fresh EC2 instance; it should still be okay if you have an existing setup, but I can't make any promises. We proceed as follows:
scp keyname.pub [email protected]:
# SSH in
ssh [email protected]
# Add key to list of authorized keys
mkdir .ssh
touch .ssh/authorized_keys
cat keyname.pub >> .ssh/authorized_keys
# Set permissions
chmod 700 .ssh
chmod 0640 .ssh/authorized_keys
rm keyname.pub
Logout, and you should be able to SSH in without having to enter your password.
-
To create the alias, go to your bash_profile (emacs ~/.bash_profile) or wherever you configure your local bash settings. Add the following two lines (with your arguments substituted):
export AWS='ec2-54-245-139-10.us-west-2.compute.amazonaws.com'
alias aws='ssh crmarsh@$AWS'
Why both? Well, if you ever need the address of your instance (it comes in handy), you can just type 'echo $AWS'. And when you want to login, you can just type 'aws' on its own. Try it for yourself.
-
As a final note: if you're like me and you love Sublime Text, I highly recommend using Sublime SFTP. It lets you edit files on your remote server using Sublime Text over SFTP.
Appendix: Installing Essential Tools
-
Thankfully, most of the things you need come pre-installed on Ubuntu; so this section is small. Try 'em out: ssh, scp, grep, wget, etc.
-
However, there were still some things I wanted: emacs, git, make, etc. Obviously, preferences will vary from developer to developer. Here are some commands you might want to use, for your convenience:
sudo apt-get install emacs
sudo apt-get install git
sudo apt-get install make
...
2013-06-19